Today, I will show you how to run a Java program in VS Code, and it is a very simple method. The only thing you need to do is install the Extension Pack for Java extension.
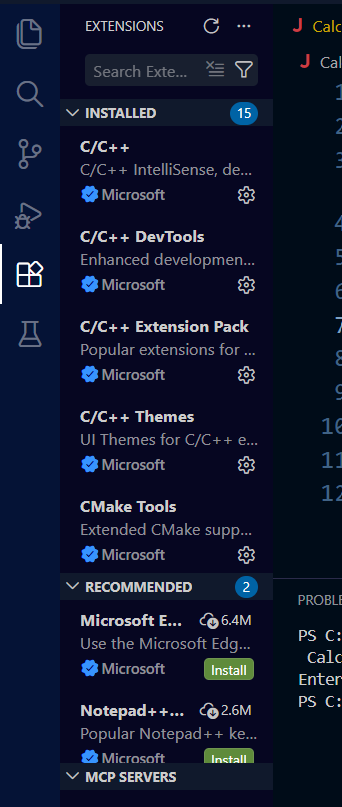
On the left side, you will find the Extensions button. Click on it and search for Extension Pack for Java.
Once you find the extension, click on it to open the extension details.
Then, click the Install button to install the extension in VS Code.
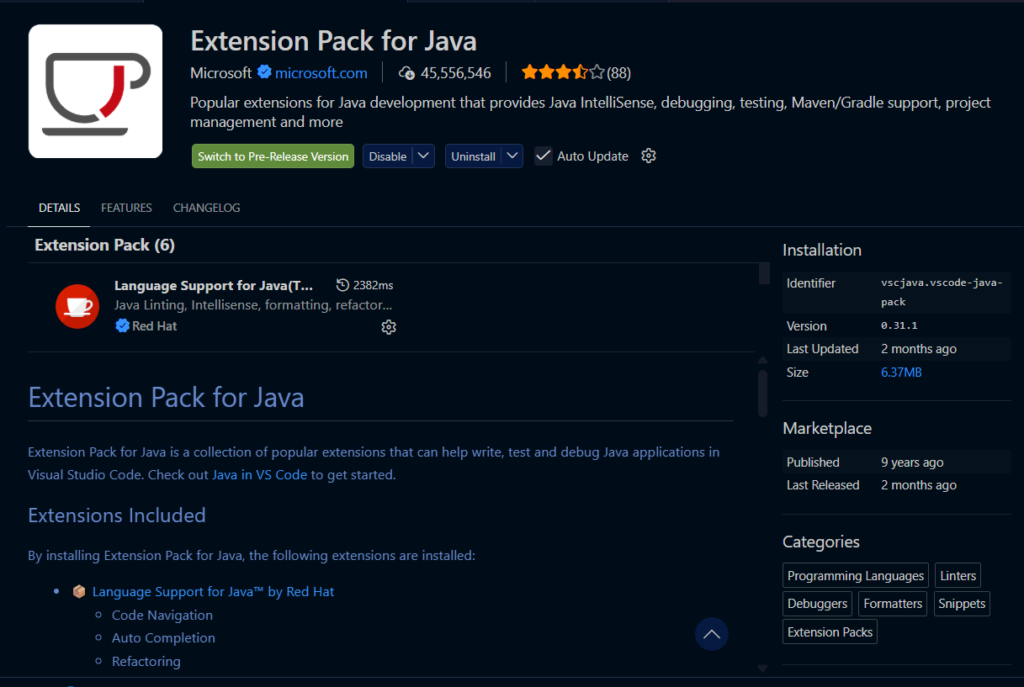
By installing Extension Pack for Java, the following extensions are installed:
- Language Support for Java™ by Red Hat
- Code Navigation
- Auto Completion
- Refactoring
- Code Snippets
- Debugger for Java
- Debugging support
- Test Runner for Java
- Run and debug JUnit/TestNG test cases
- Maven for Java
- Project Scaffolding
- Custom Goals
Once it is installed on your system, go to New File, create a file with the .java extension, and write the Java syntax.
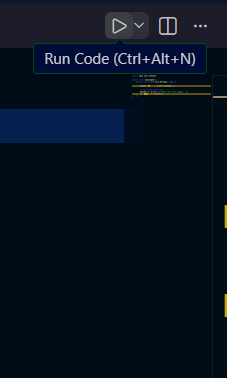
Once you write the code, you will see the Run Code option at the top-right side. Click on Run Code, and you will be able to see the output in the terminal.
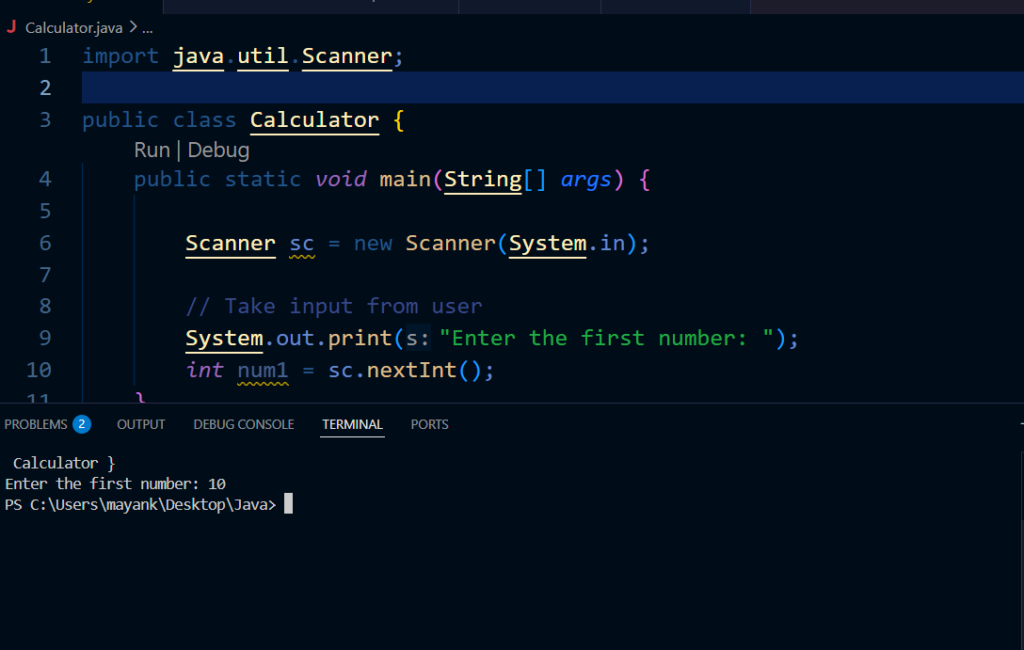
The issue is now resolved, and you can successfully run your Java program in VS Code.
The output will be displayed directly in the Terminal.
You can now write, run, and test your Java programs easily within VS Code.